Books
Garden Planner and Journal, 2022
This Planner shows you what vegetables to plant when, to maximize Southern California's year-round growing season. The Journal portion guides your garden observations with reflective questions, so you get to know your garden intimately. Includes planting-by-the-moon dates, cool-season/warm-season garden planning, plus tips for building living soil.
More info →
Soil Building
Great soil is the key to success in every organic vegetable garden. Here's how to build it at low cost and with minimal inputs, without much gardener time, within tight urban spaces.
More info →


Food from a Flowerpot
Yes, you can have a garden even if you live in a rental or a condo.
More info →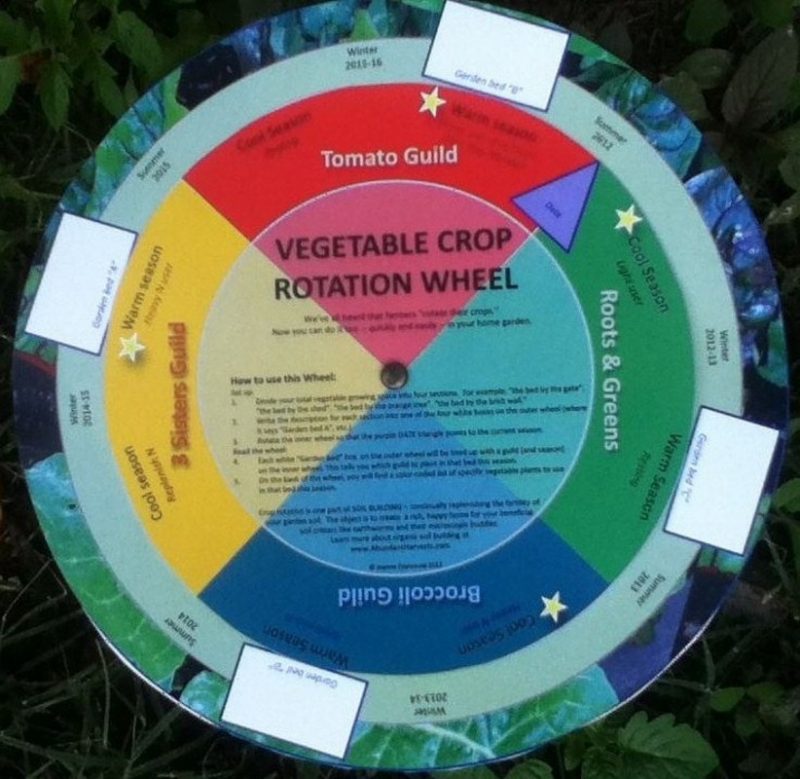
Vegetable Crop Rotation Wheel
Farmers rotate their crops for pest management and to help build soil fertility … and you can too!
More info →
VegGarden 365
What to plant when in year-round climates like Southern California's!
More info →

Your Community Garden: Tips for Success
Here are Best Practices for planning the "community" part of your garden
More info →
Free information sheets
Download free pdfs of the information sheets that Joanne gives away in her classes and appearances
More info →
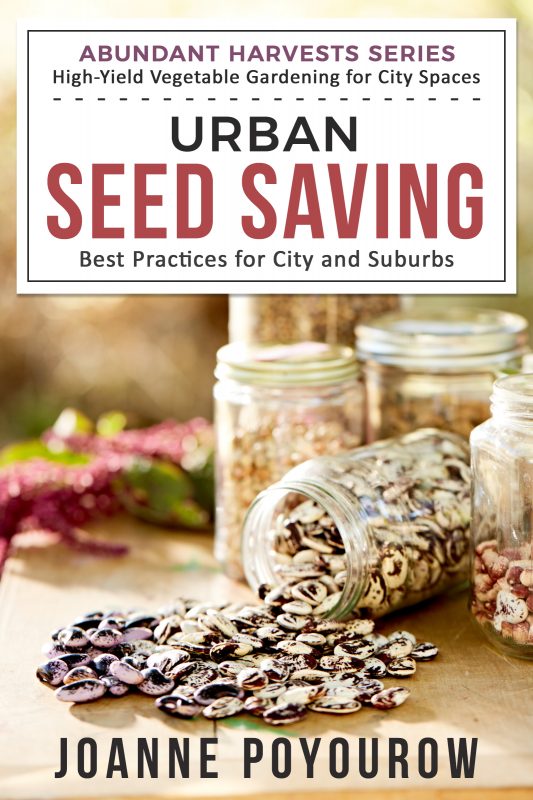
Urban Seed Saving
Plant. Harvest. Collect. Repeat.
How would you like to enjoy your favorite variety of garden vegetables year after year?
You can. Even if you live in the city. Or the suburbs.
This comprehensive guide will show you how to collect the seeds in your garden this year, so you can reap the mouth-watering benefits next year, too.
More info →
Flowcharts for Urban Seed Saving
Our urban gardens may be the last stronghold for preservation of heirloom diversity.
In easy visual format, here's how to join in the seed-saving fun.
More info →
Legacy: A Story of Hope
What happens when a small group of thoughtful, committed citizens set out to change the world?
More info →


Water Wisdom for High-Yield Gardens
ebook coming soon!
More info →